

Cladding corner trims are one of the final details that bring a façade together — creating neat edges, protecting exposed board ends, and improving long-term performance. Whether you’re installing composite cladding around windows, doors, or external corners, the correct fitment of corner trims ensures both aesthetics and durability.
At PureSolid, we emphasise not just the quality of cladding boards, but also the precision of finishing trims, because they contribute significantly to a weather-tight and visually cohesive exterior.

Why Corner Trims Matter
Cladding corner trims serve several critical functions beyond mere decoration:
-
Edge protection: They shield cut board edges from moisture ingress, debris and impact.
-
Aesthetic continuity: Trims give façades a clean, professional finish.
-
Movement allowance: They conceal expansion gaps between boards while allowing for thermal movement.
Without properly installed trims, cladding boards can absorb moisture at exposed edges, degrade faster, or leave the façade looking unfinished.
What You’ll Need
Before you begin, gather the following:
-
Cladding corner trim profiles (external or internal, depending on location)
-
Tape measure
-
Appropriate saw for cutting trims
-
Pre-drill and countersink tools
-
Corrosion-resistant fixings (e.g., A2/A4 stainless steel screws)
-
Safety gear (gloves, eye protection)
Choosing compatible fixings and corrosion-resistant hardware is especially important in coastal or high-moisture environments such as many parts of Australia.
Step-by-Step Installation
Follow these steps for a clean and durable corner trim installation:
1. Measure and Cut to Size
Measure the total height of the cladding board run at the corner and cut the trim profile to length. Ensure cuts are square and clean.
2. Mitre Adjacent Pieces
Where two trim ends meet (such as at external corners), cut opposing mitre angles (usually 45°) so they join neatly without gaps.
3. Position and Pre-Drill
Place the trim over the corner, ensuring it fully covers the edge of the cladding boards. Pre-drill holes and countersink through the trim profile.
4. Fix in Place
Secure the trim with countersunk A2 or A4 stainless steel screws into the structure behind (batten or frame).
👉 Optional: If you prefer a cleaner look, use coloured screws or screw caps to match the trim colour.
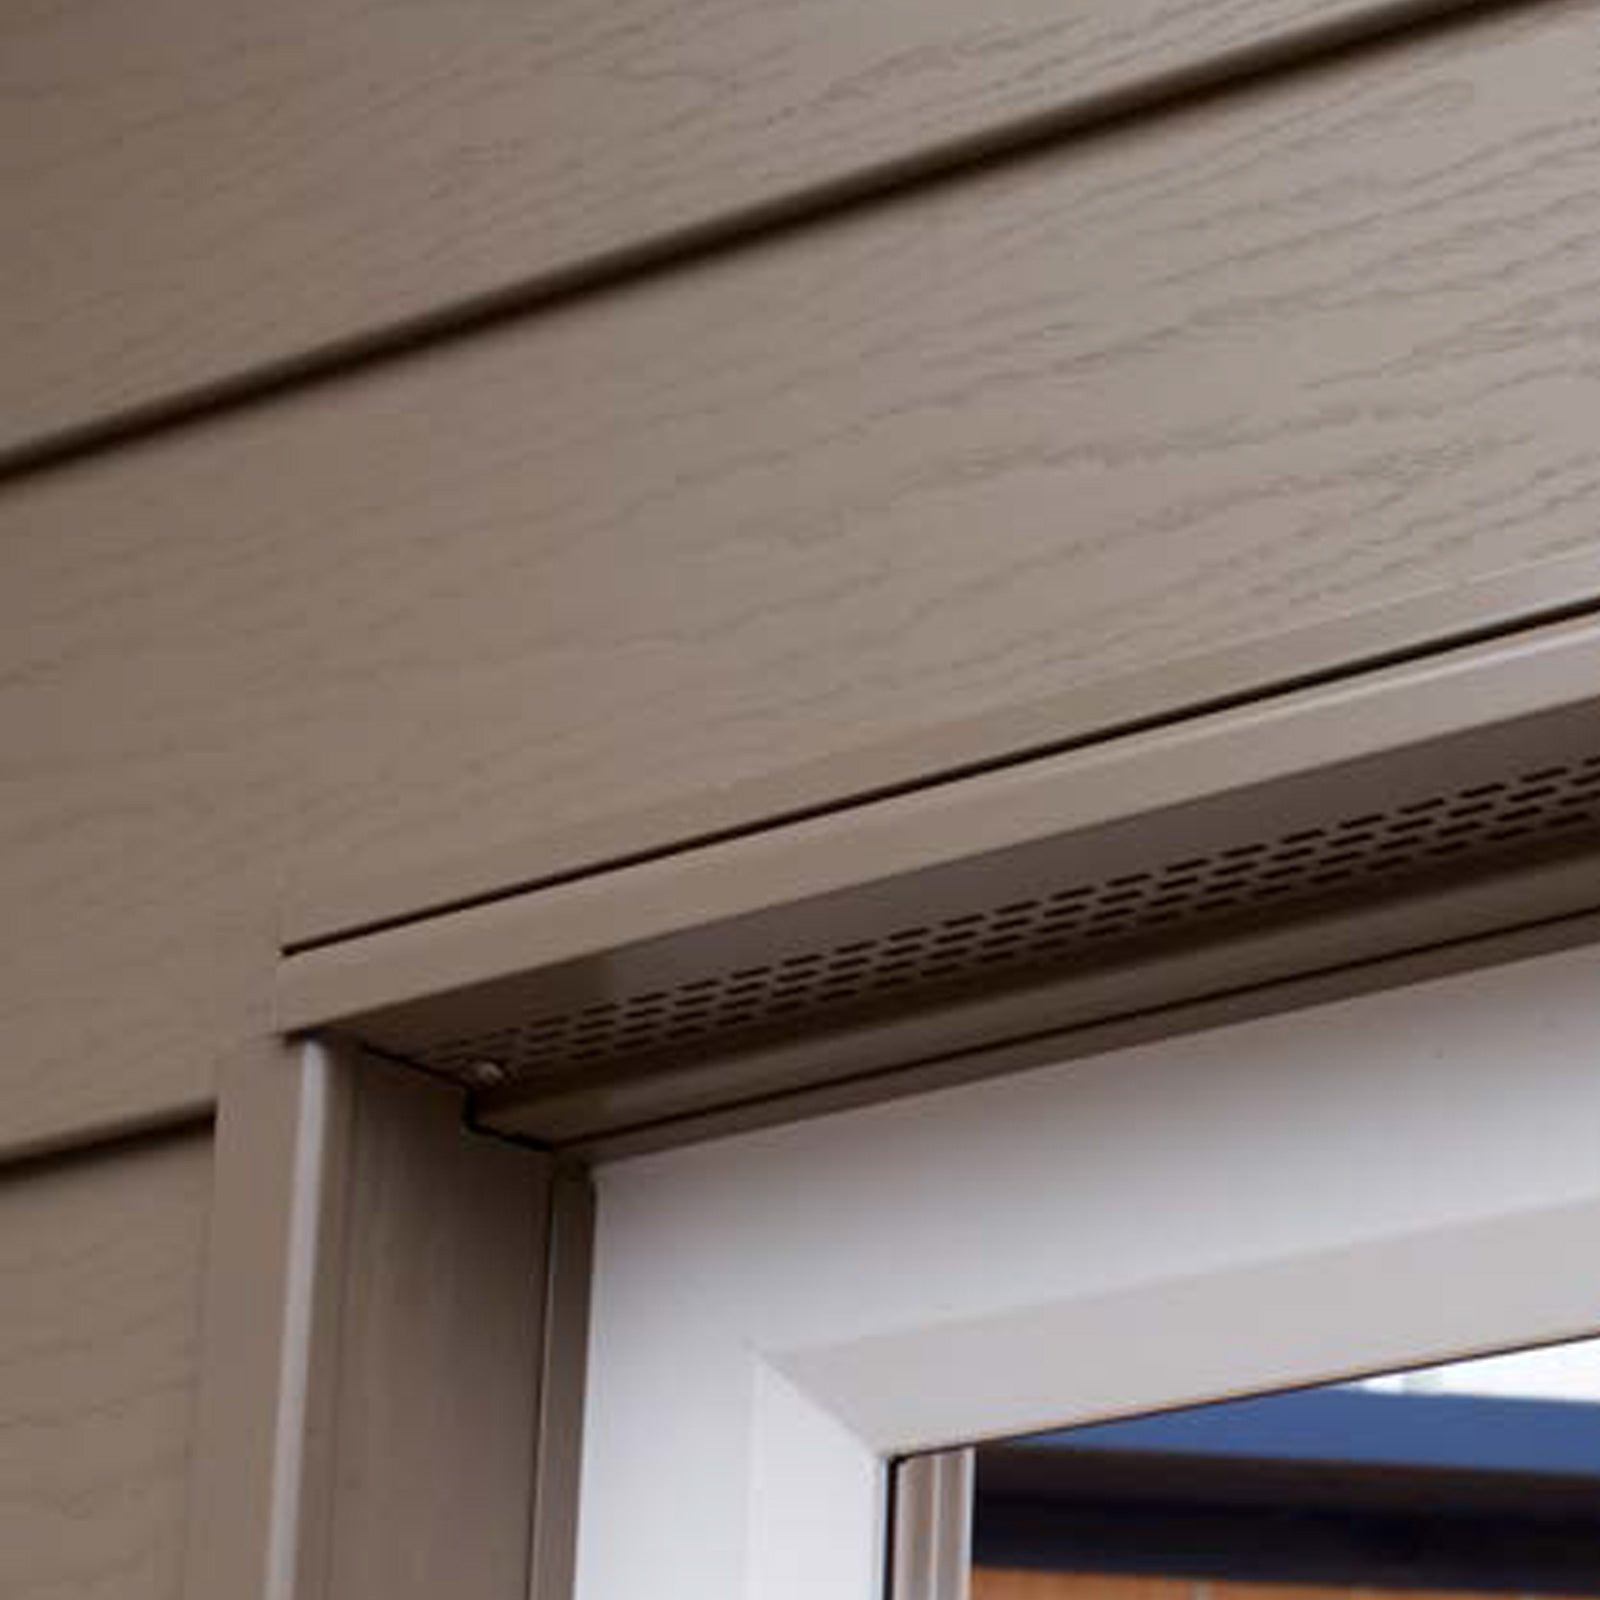
5. Integrate with Fascia Boards
If using fascia boards (e.g., at the top of walls or around windows/doors), trim can be installed together with or after the fascia to conceal deeper frames and achieve a continuous façade finish.
Tips for a Professional Finish
✔ Always allow for expansion gaps between trim and cladding boards — thermal movement can occur in all external applications.
✔ Check that trims sit level and vertical before screwing fully.
✔ Use stainless steel fixings suited for coastal areas to prevent corrosion.
✔ Only screw through the bottom portion of trims when possible to avoid exposed blemishes.
Common Mistakes to Avoid
Even small errors can affect how the trim performs and looks:
❌ Over-tightening screws, which can warp or crack trims.
❌ Incorrect trimming or uneven cuts, leaving visible gaps.
❌ Forgetting expansion gaps behind boards and trims.
Avoiding these mistakes helps ensure your cladding system remains weather-tight and visually pleasing for years to come.
Cladding Corner Trim Types
While external corner trims are most common, different trim types may be used depending on your situation:
| Trim Type | Purpose | Location |
|---|---|---|
| External Corner Trim | Covers intersecting outer corners | Building edges |
| Internal Corner Trim | Covers recessed or inside corners | Around reveals |
| Fascia-Integrated Trim | Combines with the fascia board | Around windows & doors |
| Expansion Trim | Allows movement during long runs | Long horizontal/vertical walls |
Generic installation guides for other cladding systems stress the same principles: trims should cover cut board ends, allow for thermal movement, and be fixed at suitable vertical batten centres (often 450–600 mm depending on system).
Frequently Asked Questions
Do cladding trims only serve cosmetic purposes?
No — while they enhance appearance, corner trims are critical for protecting cut board edges from rain and moisture, and for concealing expansion gaps.
Can you install trims before the cladding boards?
Generally, it’s recommended to install boards first, then add corner trims so they fit snugly over finished edges.
What fixings are best for trims in coastal areas?
Use A2 or A4 stainless steel screws to resist corrosion from salt air and moisture.
How much expansion gap should I allow?
Expansion gaps vary by material and climate, but always leave a small clearance between board edges and trims to accommodate temperature changes.
Final Thoughts: Finish Strong
Cladding corner trims are an essential finishing detail for any façade — they protect edges, manage water movement, hide expansion gaps, and give a polished result that lasts. When thoughtfully integrated with boards and substructure, trims elevate not just the appearance but the performance of your cladding system.
At PureSolid, we recommend planning for trim installation from the design stage so that edges, corners, and transitions are accounted for in your material list and framing layout. This upfront approach ensures a seamless installation process and a beautiful, durable finish.